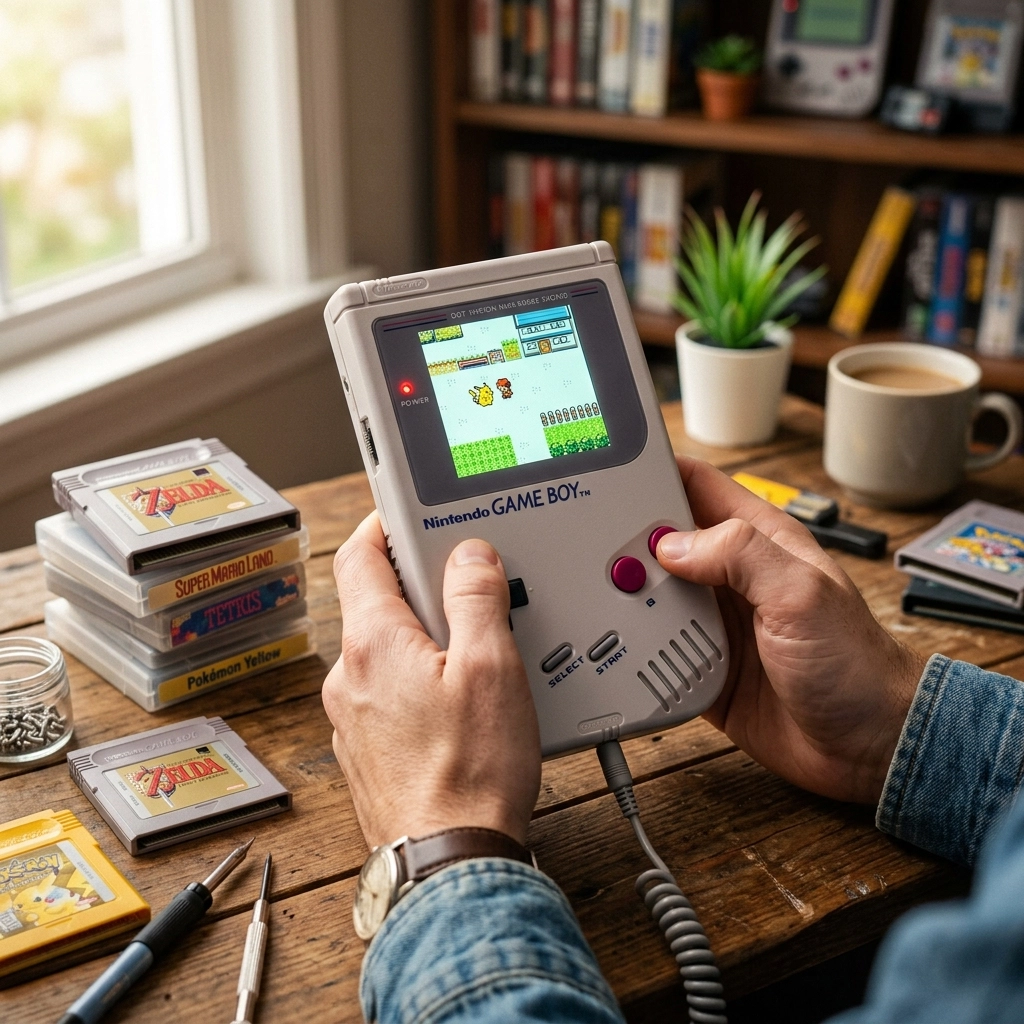
There is a specific kind of magic that happens when you’re digging through a box in the attic or a dusty corner of your garage and you find it: the original, chunky, gray-brick Game Boy. Even if it’s been sitting there since 1996, surrounded by old report cards and Christmas decorations, that little piece of plastic still carries the weight of a thousand childhood memories. You can almost hear the “ping” of the Nintendo logo sliding down the screen before you even touch the power switch.
But then, you flick that switch. Nothing happens. Or maybe you get a faint red light, a garbled sound, and a screen that looks like it’s been through a blender.
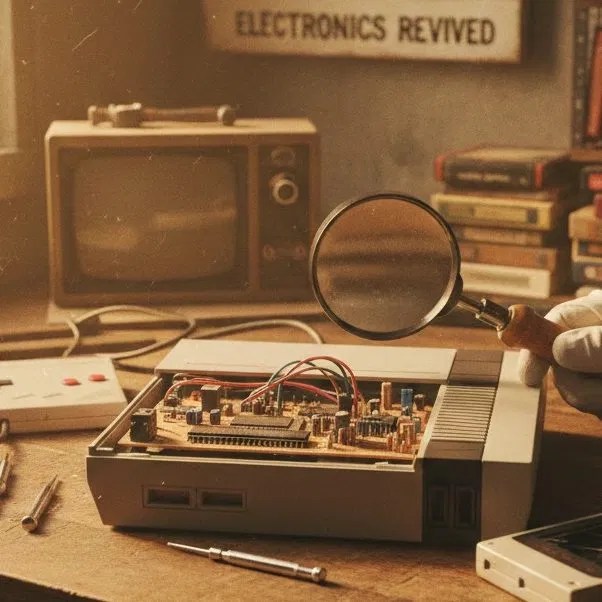
Don’t panic. At Second Wind Sales and Services, we believe that these aren’t just “old toys”: they are pieces of history, engineering marvels, and time machines. If your childhood handheld is looking a little worse for wear, it’s not time for the bin; it’s time for a revival. Here in Southern Alberta, we know a thing or two about making things last, whether it’s a tractor or a Tetris machine.
The Shoebox Time Machine: Why We Care
Technology moves fast. We’re used to phones that become “obsolete” in two years. But the Game Boy? The Game Boy was built like a tank. However, even tanks have a shelf life if they aren’t maintained. Over the decades, internal components age, chemicals leak, and the dry, windy climate of the prairies can introduce enough dust to choke a disk drive: if the Game Boy actually had one.
Reviving a vintage console is about more than just playing Super Mario Land. It’s about preserving a tactile experience that a phone emulator just can’t replicate. We’re talking about the click of the buttons, the weight in your hand, and that weirdly satisfying feeling of blowing into a cartridge (even though we now know you probably shouldn’t do that).
The Three Great Evils of Retro Tech
When a Game Boy comes into our shop, it usually suffers from one of the “Three Great Evils.” If you’re looking to DIY your repair or just want to know what we’re looking at under the microscope, here is the breakdown.
1. The Leaky AA Disaster (Battery Corrosion)
This is the most common killer. You finished Link’s Awakening in 1993, put the Game Boy away, and forgot that those four AA Duracells were still inside. Fast forward thirty years, and those batteries have decided to pull a “slow-moving science experiment” on your motherboard. The alkaline fluid leaks out, creating a crusty, blue-green mess that eats through metal contacts and circuit traces.
The Easy Way: If it’s just a little bit of white powder on the springs, you can often clean it with a Q-tip and some white vinegar. The acid in the vinegar neutralizes the alkaline leak.
The Hard Way: If the corrosion has traveled up the wires and onto the printed circuit board (PCB), it requires a professional touch. We have to desolder the old terminals, neutralize the board, and sometimes “jump” broken traces with tiny copper wires. It’s like doing a bypass surgery on a robot.
2. The Capacitor Problem (Silent But Deadly)
Inside every Game Boy are tiny components called electrolytic capacitors. Think of them as tiny, temporary batteries that smooth out the power. Over 30 years, the liquid inside them dries up or leaks.
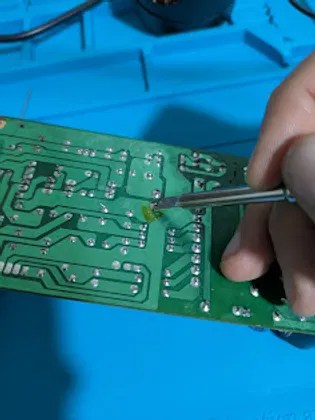
If your Game Boy has power but the sound is whisper-quiet (even with the volume cranked) or the screen is incredibly dim, your capacitors have likely retired. Replacing these is a rite of passage for any retro tech wizard. It involves precision soldering and a steady hand.
3. Screen Rot and Vertical Lines
The original Game Boy screens are notorious for “vertical lines”: black bars running top to bottom where pixels used to be. This happens because the adhesive holding the ribbon cable to the glass screen has dried out and lost its connection.
Pro-Tip: If you see a dark, oily circle in the middle of your screen that looks like a bruise, that’s “Screen Rot.” Sadly, that’s a chemical breakdown of the LCD itself, and it’s usually terminal. In those cases, we look at modern replacement screens.
Opening the Relic: The “Tri-Wing” Barrier
Nintendo didn’t exactly want you poking around inside these things. They used a proprietary “Tri-Wing” screw. If you try to force these open with a flathead, you’re going to have a bad time: and likely strip the screw, turning a simple repair into a nightmare.
Once you’re inside, the Game Boy is surprisingly elegant. It’s split into two halves connected by a wide, white ribbon cable. This cable is the “umbilical cord” of the device. If you tug too hard, you’ll tear it, and then we’re having a very different, much more expensive conversation.
The Restoration Process: A Second Wind
When we take on a “Retro Revival” at Second Wind Sales and Services, we don’t just get it working; we make it shine. Here is how we handle the “Hard Way” so you don’t have to.
Deep Cleaning the Guts
We use 99% Isopropyl Alcohol (the good stuff) to scrub the motherboard. We pay special attention to the power switch: which often gets “gunked up”: and the cartridge slot. If your Game Boy is constantly freezing, it’s usually because the 30-pin connector is dirty. We don’t just “blow” on it; we use specialized cleaning cards to ensure a perfect connection every time.
The Soldering Surgery
For those vertical lines we mentioned? There’s a trick. By carefully running a soldering iron along the rubber seal at the bottom of the screen, we can “reflow” the solder and bring those dead pixels back to life. It’s a delicate dance: too little heat and nothing happens; too much heat and you melt the screen. It’s one of those things we’ve done so many times we could practically do it blindfolded (but we don’t, because safety first!).

Retrobrighting: Turning Yellow Back to Gray
Have you ever noticed how some old Game Boys look like they’ve been owned by a five-pack-a-day smoker? That’s not smoke; it’s a chemical reaction in the plastic. The ABS plastic contains flame retardants that turn yellow when exposed to UV light over decades.
To fix this, we use a process called “Retrobrighting.” We submerge the plastic shell in a high-concentration hydrogen peroxide solution and blast it with specific UV wavelengths. It’s like a spa day for your console. It comes out looking like it just stepped off the shelf in 1989.
Modern Upgrades for a Classic Feel
Sometimes, a revival includes a few modern “quality of life” upgrades. While we love the original pea-soup green screen, let’s be honest: playing it in anything other than direct sunlight is a struggle.
If you want the ultimate version of your childhood toy, we can install IPS Backlit Screens. These give you vibrant colors, adjustable brightness, and zero motion blur. We can even install rechargeable battery packs so you can stop feeding the “AA battery monster” every six hours. You can check out some of our latest mods in our Shop Updates.
Is Your Game Boy Worth Saving?
In a word: Yes.
Beyond the nostalgia, these devices are becoming increasingly collectible. But more importantly, they represent a time when things were built to be fixed. Unlike a modern smartphone that is glued shut and designed to be replaced, the Game Boy was designed to be understood.
If you’ve found a relic in your basement and you aren’t sure if it’s fixable, bring it by. Whether it’s a Game Boy, a vintage camera, or even a temperamental old Atari, we treat every piece of tech with the respect it deserves.
Let’s Get You Back in the Game
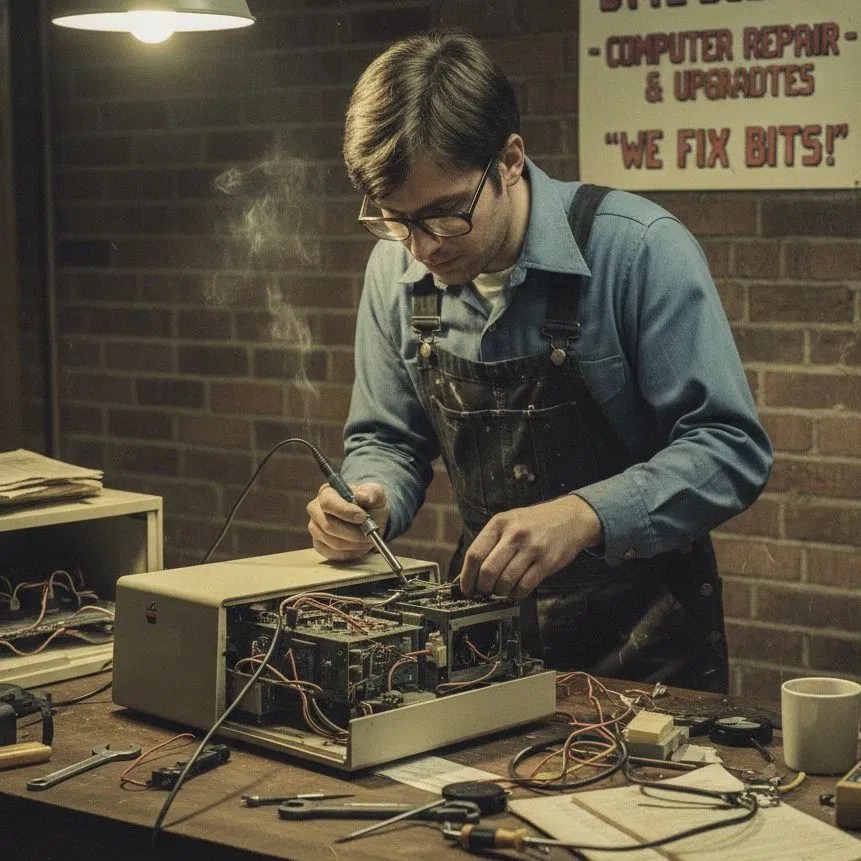
You don’t have to be a tech wizard to give your old gadgets a second wind. If the idea of handling a soldering iron makes your hands shake, or if that battery corrosion looks more like an alien landscape than a circuit board, we’re here to help.
At Second Wind Sales and Services, we’re not just fixing bits and bytes; we’re helping you reconnect with the things you love. From Lethbridge to Raymond and everywhere in between, we’re your local hub for all things tech repair.
Ready to revive your childhood? Come see us at the shop or check out our Repair Tutorials if you’re feeling brave enough to try a cleaning at home. Let’s make sure that “Ping!” echoes for another thirty years.
Leave a Reply