🎮 Is your Game Boy game refusing to save?
Replace a Game Boy game battery may sound like a daunting task. But it is the only way to get that only Pokemon Red cartridge saving games again.
The good news: this is one of the most common—and fixable—problems with retro Game Boy cartridges. With a few basic tools and a steady hand, you can restore save functionality and extend the life of your collection for years.
This step-by-step guide shows you how to replace a Game Boy battery in a cartridge safely and correctly, whether you’re a first-time fixer or a seasoned collector.
Why Do Game Boy Games Use Batteries?
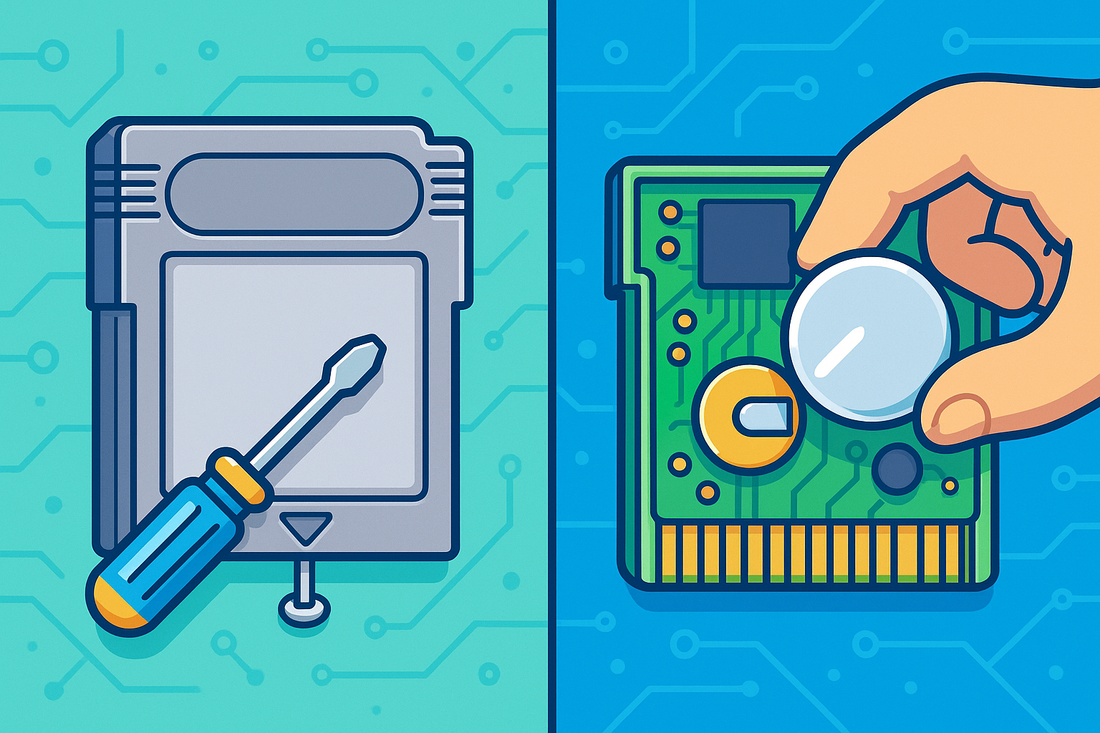
Original Game Boy, Game Boy Color, and some Game Boy Advance cartridges use small coin-cell batteries (usually CR1616 or CR2025) to power SRAM memory for save files.
These batteries typically last 10–20 years. Once they die:
- Save files stop working
- Games boot normally but won’t retain progress
- Your childhood achievements vanish into the void
Replacing the battery restores full save functionality and prevents further data loss.
What You’ll Need to Replace a Game Boy Cartridge Battery
Before you start, gather the following tools:
- 🔋 Replacement coin cell battery (CR1616 or CR2025 — verify before buying)
- 🔧 3.8mm Gamebit screwdriver (required to open Nintendo cartridges)
- 🔥 Soldering iron + solder (recommended for a permanent fix)
- 🧲 Tweezers or small pliers
- 🕒 Patience and steady hands
Pro tip: Buy batteries with pre-welded tabs to make soldering easier and safer.
Step-by-Step: How to Replace a Game Boy Game Battery
Time needed: 30 minutes
Step-by-Step: How to Replace a Game Boy Game Battery
- Step 1: Open the Cartridge
Use the 3.8mm Gamebit screwdriver to remove the security screw on the back.
Gently slide the cartridge shell apart and set it aside. - Step 2: Remove the Old Battery
Carefully desolder the old battery from the circuit board.
Take note of the battery orientation (positive and negative sides) before removal.
⚠️ Avoid pulling or twisting—this can lift pads from the board. - Step 3: Install the New Battery
💡 No soldering experience?
Temporary tape or clip mods exist, but soldering is the most reliable long-term solution and preferred by collectors. Alternatively, we can do the job for you. Get in touch with us!
- Step 4: Reassemble the Cartridge
Reinsert the board into the shell and tighten the security screw.
Don’t overtighten—snug is perfect. - Step 5: Test the Save Function
Insert the game into your Game Boy.
Start a new save, power off, reboot, and confirm the save remains. - Enjoy your game like it’s 1998!
🎉 If it worked, you’ve officially revived a retro classic.


Frequently Asked Questions (FAQ)
Yes—if you want reliability. Tape fixes can fail over time, while soldering ensures consistent power and long-term stability.
CR1616: Pokémon Red, Blue, Yellow; Zelda: Link’s Awakening
CR2025: Many Game Boy Color titles
Always open the cartridge and confirm before replacing.
Not if done cleanly. In fact, a working save battery often increases value, especially for Pokémon and RPG titles.
Final Thoughts
Replacing a Game Boy cartridge battery is one of the best beginner-friendly retro repairs you can learn. It preserves game history, protects save data, and keeps classic titles playable for the next generation.
Repair isn’t just maintenance—it’s preservation.
Need More Help?
Not into soldering? If you need Game Boy game battery replacement in the Lethbridge area, Second Wind Sales & Services has you covered. Fast, careful retro cartridge repairs so your saves stick around.
📞Get in touch and bring your games back to life.
For more on local repair options, check out our guide to the best electronics repair in Lethbridge.
Leave a Reply